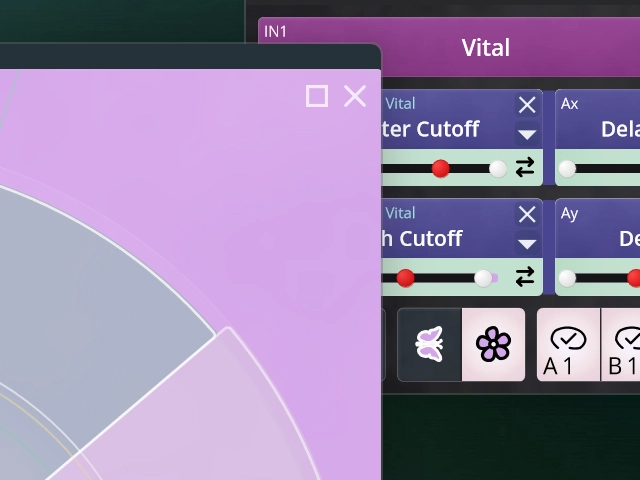
Introducing TouchMod
Control Your VST3 Plugins With Your Fingertips
Turn a Windows touchscreen or iPad into a hands-on controller for your VST3® plugins
Add Expression and Hands-On Modulation to VST Instruments and Effects
TouchMod IN
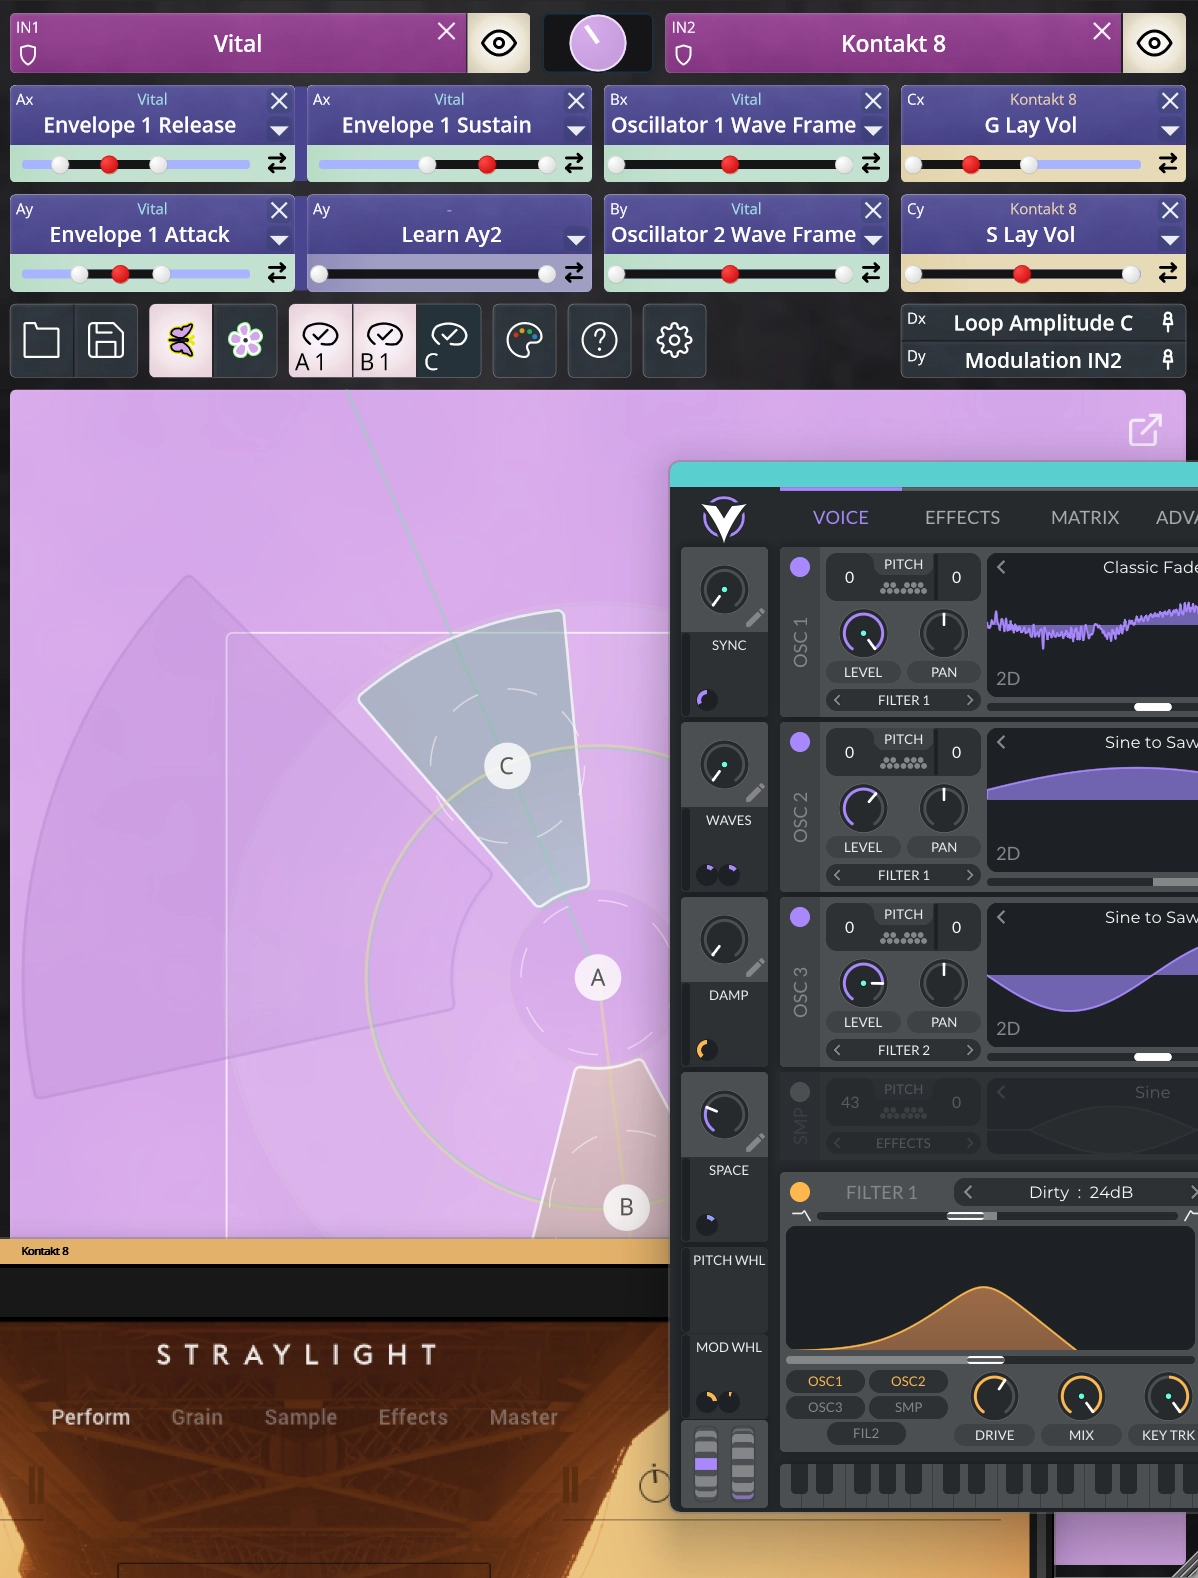
TouchMod IN is a Windows VST3 plugin that adds multitouch control to software instruments. Load your favorite synthesizers, samplers and other VST3 instruments, then bring their most useful parameters together on one responsive touch surface. Shape several parts of a sound at once from a Windows touchscreen or iPad.
Learn more →TouchMod FX
TouchMod FX brings the same multitouch workflow to VST3 effect plugins. Perform with delays, reverbs, filters, distortion, modulation effects and other processors without moving between separate plugin pages. Control several parameters together from a Windows touchscreen or iPad.
Learn more →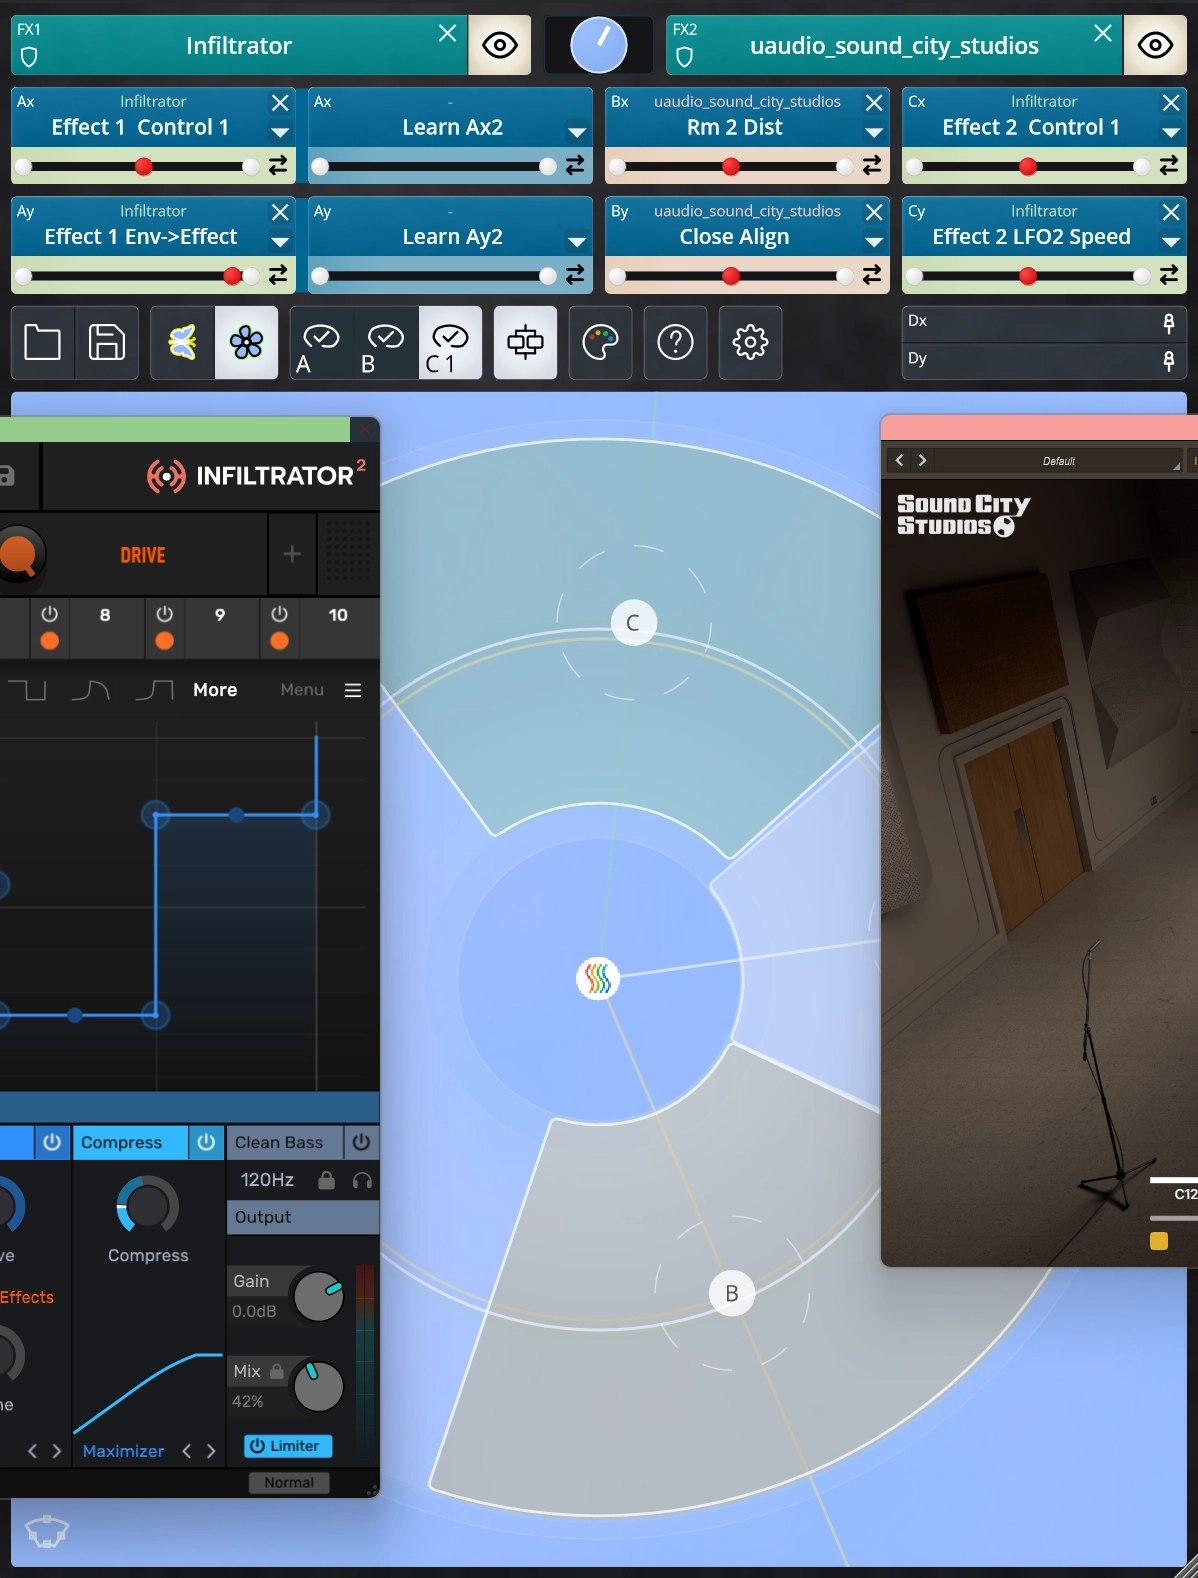
Inside Your DAW
Use TouchMod in Your DAW
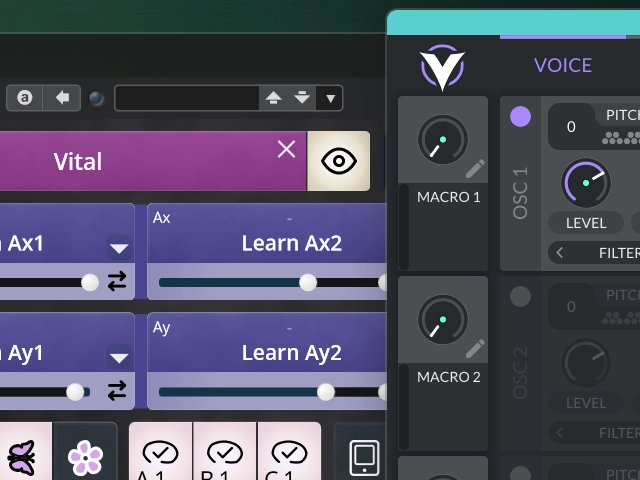
Load TouchMod directly into your DAW as a VST3 plugin. Place TouchMod IN on an instrument track or load TouchMod FX into an effect slot. Inside TouchMod, choose the VST3 instrument or effect you want to control. The hosted plugin remains part of your project, just as it would in your usual workflow.
For every instrument or effect, you can build a control layout around the parameters that matter to you. Set the minimum and maximum values, reverse the direction when needed, and decide where each parameter belongs on the touch surface. You are not replacing the original plugin interface. You are creating a more playable view of its controls.
No MIDI Mapping
Control Plugin Parameters Directly
TouchMod communicates directly with the parameters exposed by the loaded VST3 plugin. You do not need to look up MIDI CC numbers, create a separate mapping or remember which hardware control belongs to which parameter. Assignments remain connected to the plugin controls themselves.
Direct Plugin Parameter Control can also offer finer resolution than standard 7-bit MIDI CC, which provides 128 possible values. The difference can be noticeable when you make slow filter movements, small pitch changes or careful adjustments to modulation depth and effect mix. Instead of stepping through a limited series of values, the movement can follow your finger more smoothly.
You can also place controls from different pages of the original plugin together on one surface. The plugin may still have a complex interface, but the controls you want to perform with stay close at hand.
Fast Parameter Assignment
Learn Parameters in Seconds
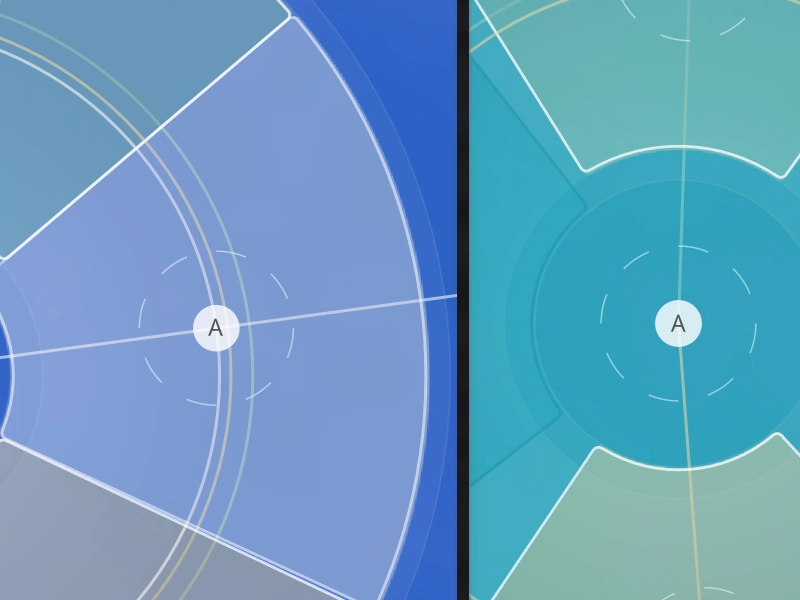
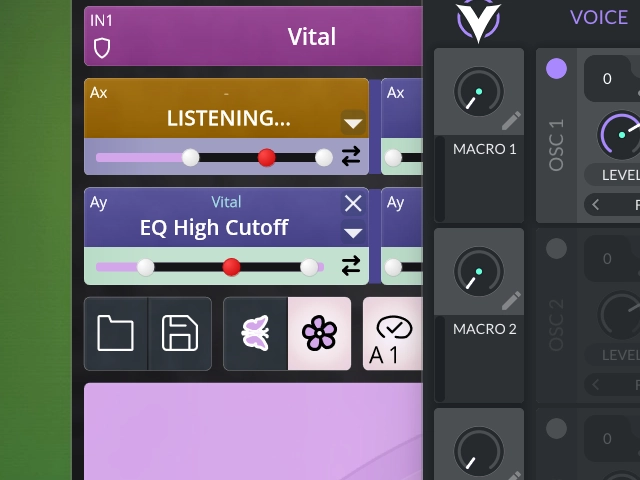
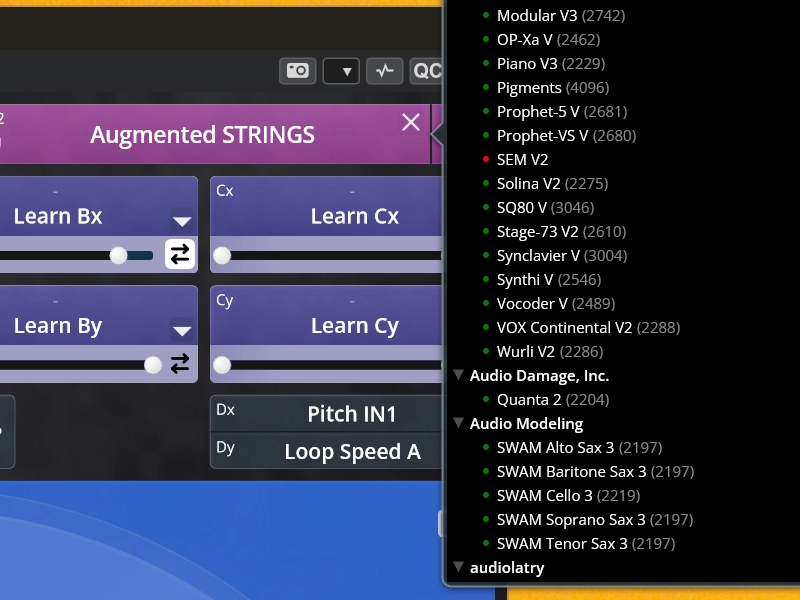
Assigning a parameter takes only a few steps. Activate Learn in TouchMod, move a knob or slider in the hosted plugin, and TouchMod detects the parameter. You can then set its range, reverse its direction and connect it to the part of the pad you want to use.
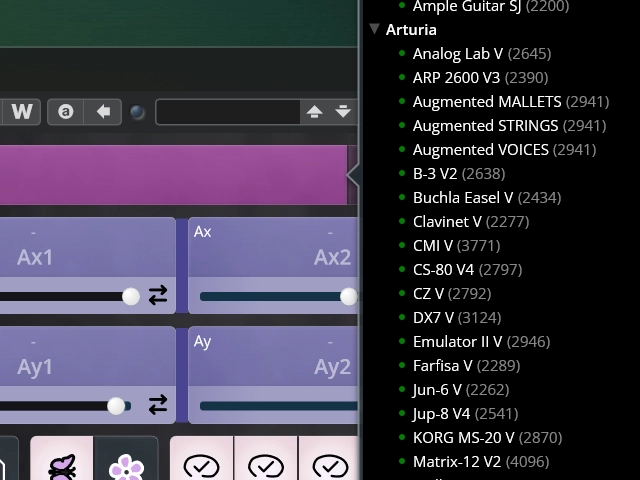
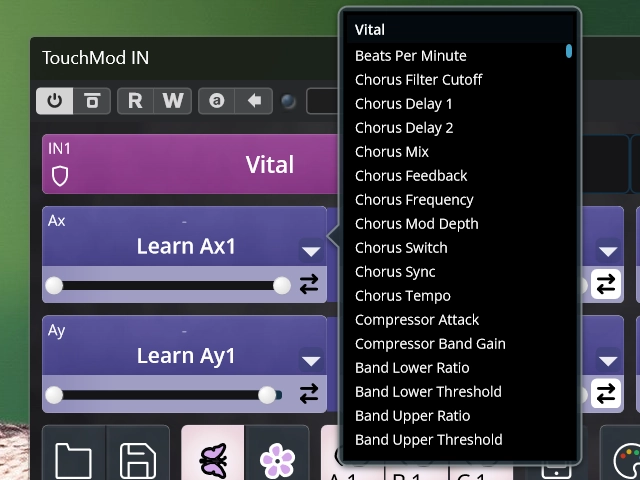
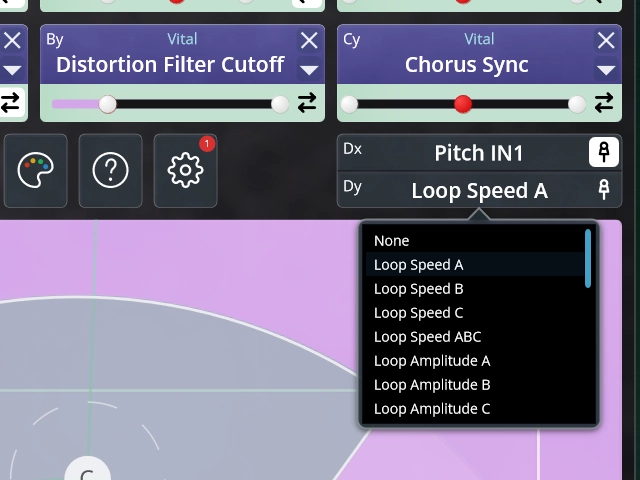
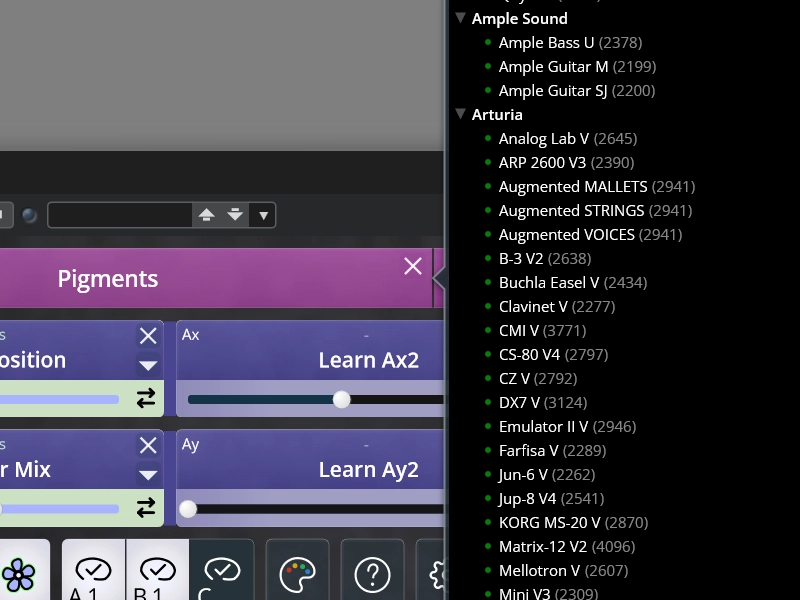
Parameters can also be selected from a list. This is useful when a control is difficult to reach, located on another page or not easy to move precisely with a mouse. It can also help with plugins that expose parameters that are not immediately visible in their main interface.
There is no need to type parameter names or build a MIDI mapping table. Start with two controls, test the movement and add more when the sound calls for it. A useful layout can be created quickly, while more detailed setups can be refined at your own pace.
Four-Finger Control
Control Multiple Parameters at Once
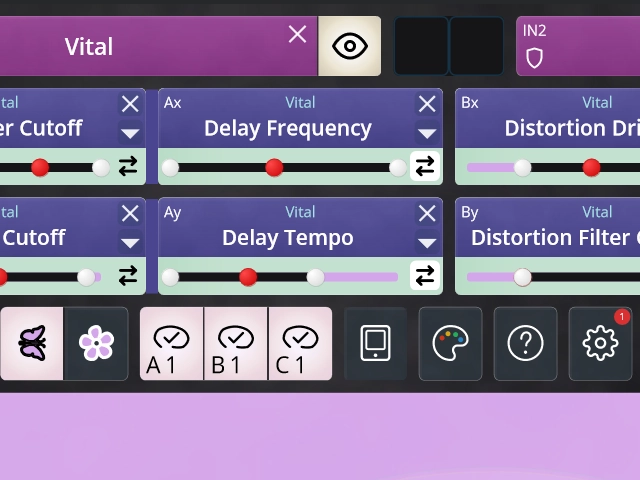
A mouse normally moves one control at a time. TouchMod lets you use up to four fingers simultaneously, with two plugin parameters assigned to each touch point. You can therefore control as many as eight parameters in one gesture or give every finger a separate role.
One finger might open a filter and raise its resonance. Another can change stereo width and modulation depth, while a third adds delay or changes the character of the sound. Each finger follows its own path, so the result does not behave like a single macro that moves every value in a fixed relationship.
This opens up a more physical way of shaping sound. Small movements can remain subtle, while another finger makes a broader change. You can record the result into your DAW, use it during sound design or treat the pad as a playable part of a live setup.
Two Pad Modes
Choose Between Butterfly and Flower
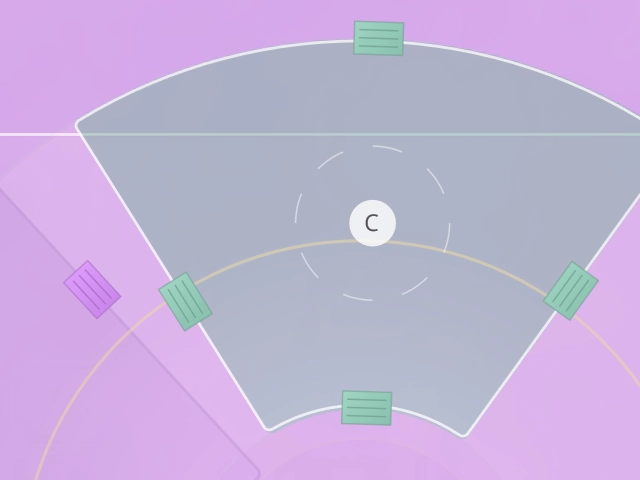
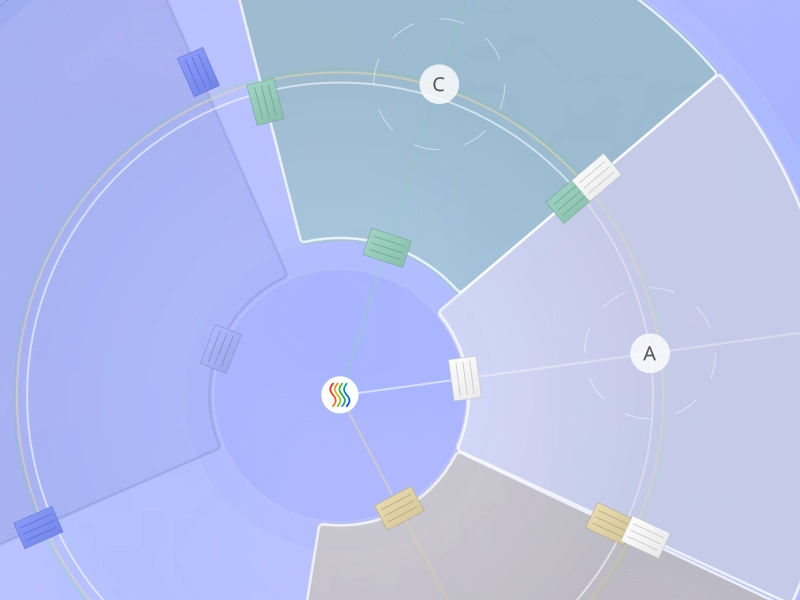
TouchMod includes two pad modes for different ways of working. Butterfly mode gives the main parameter pair more space and precision. The other controls remain available in smaller surrounding areas, making this layout useful when two parameters lead the gesture and the rest play a supporting role.
For example, you might use the main area for filter cutoff and resonance, while nearby movements affect texture, stereo width or an effect. Your attention stays on the central pair, but the other parameters can still take part in the performance.
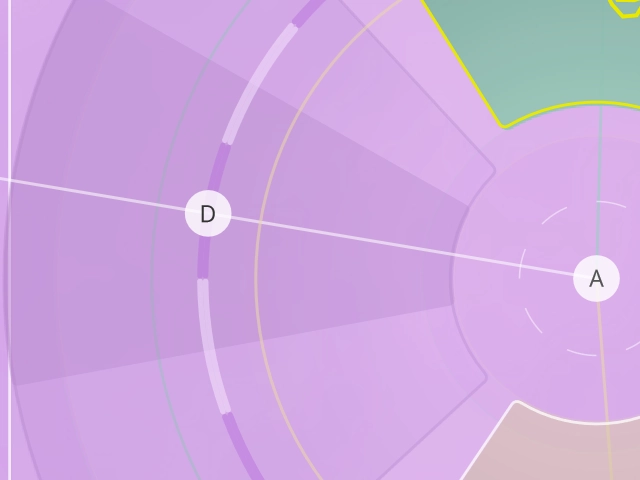
Flower mode divides the surface into more balanced sectors. Each group receives a similar amount of space, which works well when several sounds or effects are equally important. Choose the mode that suits the plugin, the assigned parameters and the kind of movement you want to make.
Beyond Fixed Modulation
Add Your Own Expression
LFOs, envelopes and step modulators usually follow curves that have been drawn or set in advance. They often repeat at a fixed rate or stay synchronized with the project tempo. That accuracy is useful, but repeated movement can also begin to sound mechanical or predictable.
TouchMod allows modulation to follow your hands instead. You decide when a movement begins, how quickly it develops and how far it travels. A gesture can hesitate, accelerate, pull back or arrive slightly later than expected. Those small differences help a sound respond to the phrase rather than simply repeat a programmed shape.
This is especially useful when a section needs tension, release or gradual change that is difficult to capture with a regular LFO. You can react to what you hear in the moment and give every pass a slightly different character. The result is not random. It reflects the choices you make while listening.
Capture Your Gestures
Record and Loop Touch Movements
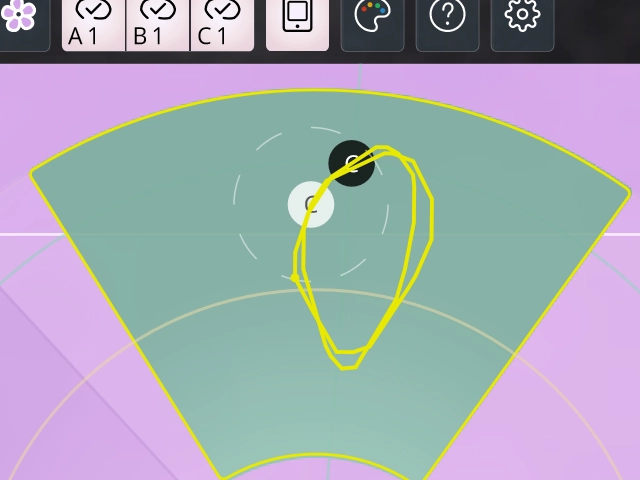
TouchMod can record movements made on the control surface and play them back as repeating loops. A gesture you perform by hand becomes a source of modulation, without drawing automation curves or programming the same movement with several separate modulators.
The recorded loop keeps the timing and shape of your original performance. It may contain small accelerations, pauses and changes in direction that would take much longer to create manually in an automation lane. You can use a simple circular movement, a slow sweep or a more irregular gesture.
While the loop is playing, its speed and amplitude can be changed in real time. A quiet background movement can gradually become faster and more pronounced, then settle down again. You do not have to record a new loop every time the arrangement needs a different amount of motion.
More Screen Space
Keep the Controls on a Separate Screen
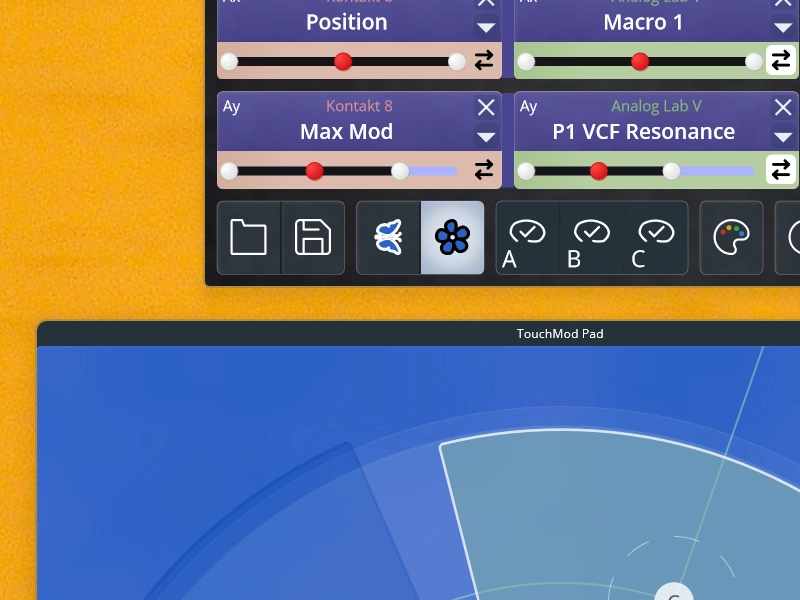
TouchMod can detach its control surface from the main plugin window and place it on a separate Windows multitouch display. Your DAW, arrangement and hosted plugin remain visible on the main monitor, while the surface you play stays within reach.
This separation is useful when you want to edit a plugin with the mouse and perform parameter changes with touch at the same time. The original interface remains available for detailed adjustments, while TouchMod provides a cleaner surface for the controls involved in the performance.
A second touchscreen can also act as a dedicated controller beside your regular monitor. Enlarge the pad, position the display where your hands naturally fall and keep frequently used parameters away from crowded plugin windows. There is less need to open, close and rearrange windows while you work.
Wireless iPad Control
Control TouchMod from Your iPad
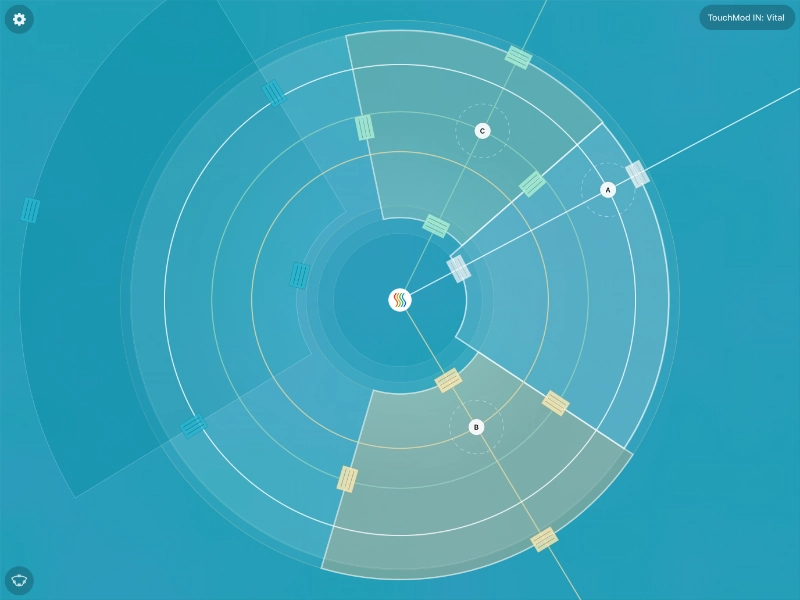
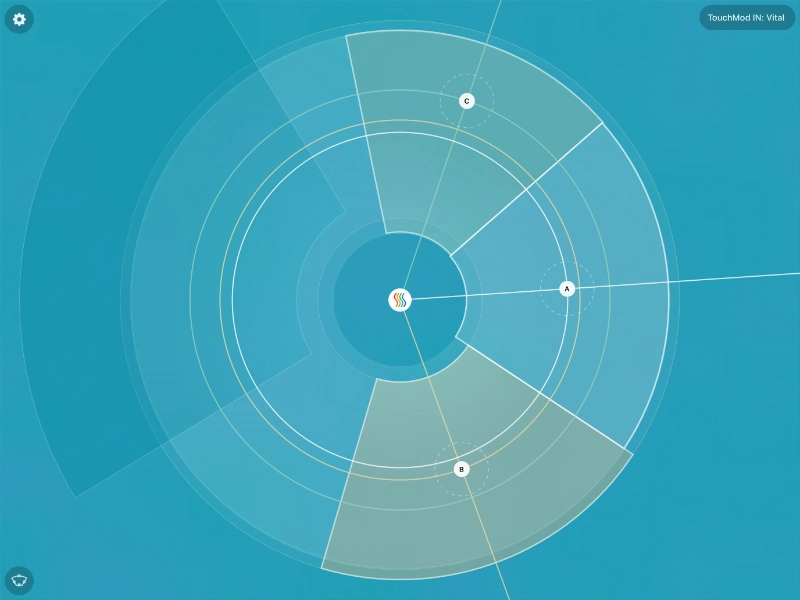
The free TouchMod Remote app turns an iPad into a wireless multitouch surface for TouchMod. It connects over your local network and shows the active pad, the assigned parameters and the selected layout. An internet connection is not required during use.
Place the iPad beside your keyboard, hold it in your hands or position it wherever it feels comfortable to play. Your DAW and plugin interfaces remain visible on the computer while the iPad handles the gestures. Several fingers can move independently without adding a dedicated MIDI controller or another computer monitor.
TouchMod Remote follows the TouchMod instance you select. This makes it easy to move between different instruments or effects in a project while using one familiar touch surface. Detailed settings remain in the Windows plugin, so the iPad interface stays focused on playing.
Two Plugins, One Surface
Control Two Plugins Simultaneously
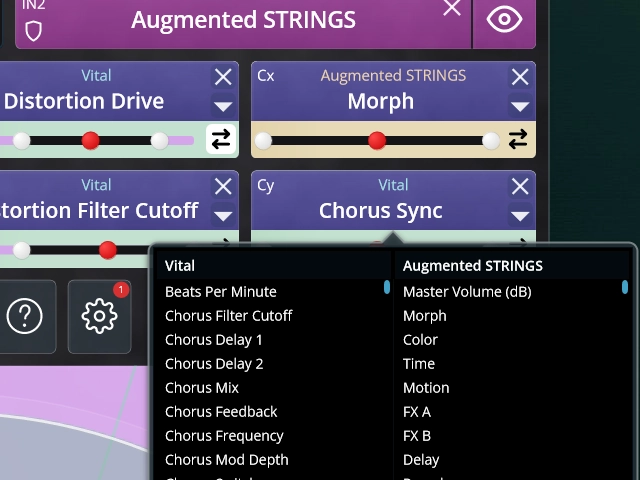
Each TouchMod instance can host two plugins of the same type. TouchMod IN can load two VST3 instruments, while TouchMod FX can load two VST3 effects. Parameters from both plugins can be placed together on the same touch surface.
With TouchMod IN, you might shape two synthesizer layers at once, balance the character of two samplers or let one gesture move related parameters across both instruments. Each plugin keeps its own sound and settings, but their controls can take part in the same performance.
TouchMod FX can combine two effects in serial or parallel routing. Move the feedback of one delay while changing the tone of another effect, or control two processors as a connected chain. You can work with both plugins without changing windows or reaching for a different controller.
Keep Your Existing Setup
Use the VST3 Plugins You Already Own
TouchMod works with compatible VST3 instruments and effects, so you can add multitouch control without replacing the plugins already used in your projects. Your synthesizers, samplers, delays, reverbs, filters and other processors remain part of the same production setup.
There is no separate TouchMod sound engine to learn. The hosted instrument continues to generate the sound, or the hosted effect continues to process it. TouchMod concentrates on the connection between your hands and the available plugin parameters.
You can create a different layout for every plugin and choose only the controls that make sense for that sound. Familiar presets and plugin functions remain available, but the parts you want to perform with become easier to reach. A plugin you have used for years can begin to feel different when several of its parameters can finally be played together.
Get Started in 12 Steps